GARAGISTIC X FEAL SUSPENSION COILOVERS COLLABORATION
Introducing the new line of Garagistic x Feal coilovers! We teamed up with Feal Suspension to bring you a high-quality suspension upgrade for all your favorite BMW chassis. Feal suspension designs each shock with expertise from their success in many top-level international motorsports and through their years of experience tuning various shock brands. Combine Feal’s suspension expertise with Garagistic’s BMW chassis experience and the result is a finely tuned suspension package that will give you a competitive advantage. Each set of Garagistic X Feal coilovers is carefully tuned to our spec to handle any track condition and style of driving.

WHO IS BEHIND FEAL SUSPENSION?
To those of you who have never heard of FEAL, you’ve been missing out! FEAL suspension was founded by Odi Bakchis from Formula Drift, and is a household name for those who want to push their car’s handling to the limits.
Feal Suspension has been in the business of servicing and tuning dampers since 2007. Their focus has been maintaining and improving damper performance with their product R&D, not just sales of coilover kits.
As a company with so much support from the professional community, FEAL is best positioned to create coilovers that improves performance on the track. When you see Odi throw his 900 HP LS swapped S15 around the corner at Irwindale, you better believe those FEAL coilovers have been thoroughly designed and tested for maximum performance. If there is one company that put their money where their mouth is, it would be FEAL.
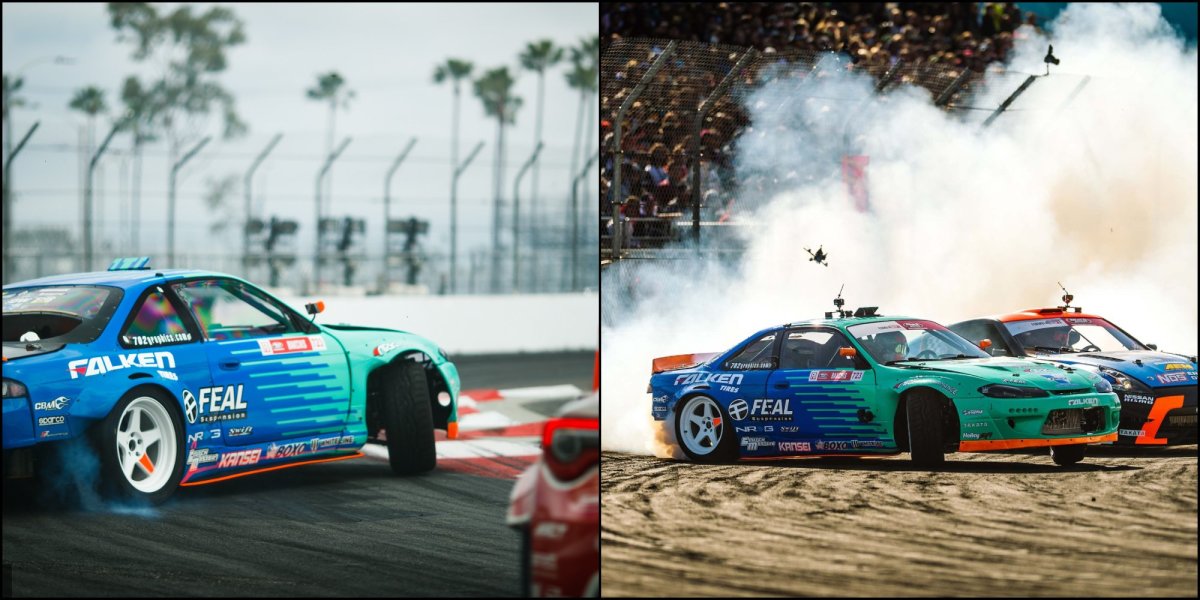
Odi pushing his old pro S14 and his new LS swapped S15 at Formula Drift Long Beach. Photo credit: Todd Veney of Holley
WHY DID WE TEAM UP WITH FEAL SUSPENSION?
When you purchase Garagistic X FEAL coilovers, you will receive dampers built with years of tuning experience and testing. With tuning methods not only from the conventional shock dyno analysis, but also testing using professional drivers and collecting valuable feedback from track usage.
We teamed up with FEAL for this exact reason. We know all the Garagistic supporters are always looking for the most effective way to beef up their suspension for the track. There’s no other partner out there that can rival their years of experience in designing, tuning, and testing such an integral part of any build.
When these coilovers have been through all kinds of motorsport testing ranging from autox, road race, rally, and professional drifting applications for many years, you end up with a set of coilovers that was designed to be pushed to the limits. (Not just for looks)
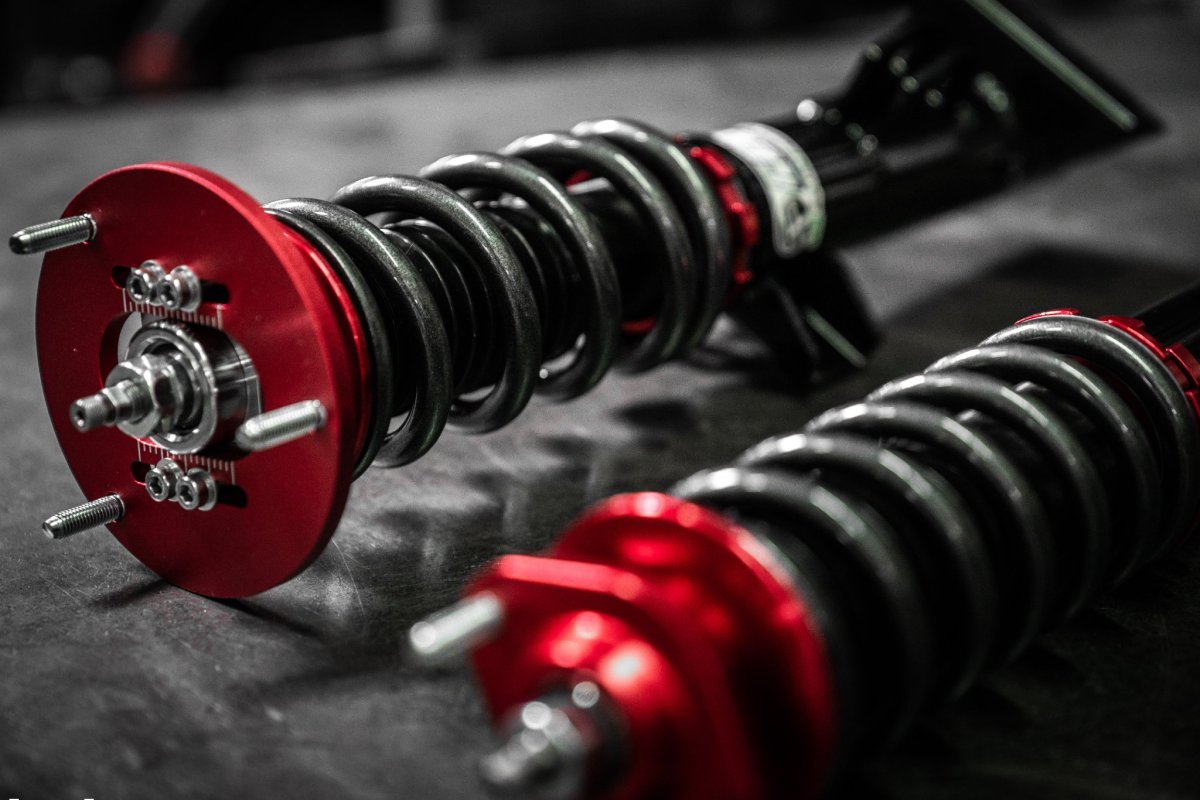
PRODUCT OVERVIEW
The Garagistic X FEAL coilovers will have one of the most modular setup you can find in the market. We have worked with pro drivers around the world to fine tune the valving, spring rates, shock stroke and body lengths to develop the best coilover kit for your E30/E36/E46 and all the chassis we offer.
Some of the cool features from some of our kits include an “upside down” rear shock for the E36 kit. This custom configuration reduces the unsprung weight that the rear trailing arm has to cycle. If you choose the “true coilover” option, the upside down shock places the spring on the bottom away from the chassis allowing lots of movement without any interference. Don’t settle for a cookie-cutter kit for your builds!
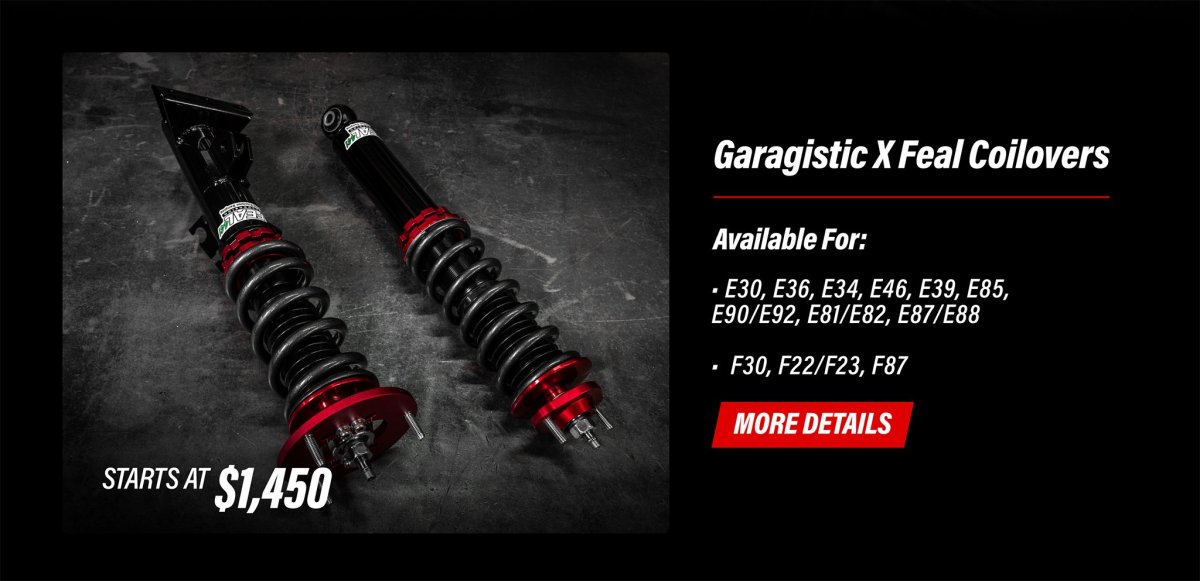
The Garagistic X FEAL coilovers will have BMW applications only as of now. The applications include the following chassis:
- E30, E36, E34, E46, E39, E85, E90/E92, E81/E82, E87/E88
- F30, F22/F23, F87
We will continue to work with FEAL to release new variants that cater to new BMW models/non BMW models, so stay tuned for future releases!
Choose between street, road race, and drift spec coilovers for a suspension that is optimized for the type of driving you enjoy the most. From a sporty street build all the way to a fully built drift machine like the Garagistic FD car, the new Garagistic X Feal coilovers are sure to deliver.

Spring choices are also up for customizations. For different chassis, we have different spring rates that are best tailored different applications. We also have custom spring rates available for specific models.

One thing that we love at Garagistic is the modularity and the ability to customize these coilovers based on your desired specs. From different coilover levels that determines damping adjustability, rebound and compression, to different spring choices, there’s always something ready for your build.

AVAILABLE COILOVER LEVELS
441 – Damping adjustability that adjusts Rebound and Compression in one knob. Very easy to tune vehicle firmness, dive, and roll. Feal springs standard.
441+ – Damping adjustability that adjusts Rebound and Compression in one knob. Very easy to tune vehicle firmness, dive, and roll. Swift springs standard.
442 – Separate damping adjustability for Rebound and Compression. Rebound adjustability does not change compression force so that you can fine tune the roll and rate of weight transfer. The huge range of compression adjustability is independent of rebound force. The compression adjustability will allow you to adjust for more or less traction and more or less suspension movement on the compression stroke.
443 – All of the above plus separate damping adjustability for High Speed Compression, Low Speed Compression, and Rebound. Low speed compression damping adjustability allows you to fine tune chassis movement on the compression stroke over round bumps and/or throttle and braking inputs. High speed compression adjustability allows you to fine tune bottoming resistance and wheel movement on the compression stroke over rumble strips and square edge bumps.
Please note – We highly recommend reinforcing rear shock mounts for any true rear coilover option.
IMPORTANT: Make sure to follow Feal’s initial coilover setup guide! Setup Guide can be found here: Coilover Setup/Adjustment Guide

FOR THOSE WHO WANT TO ORDER
We are currently offering the following models to sign-up for our upcoming pre-order! Please make sure to use the signup form in the following links below to let us know which models you are interested in – it would help us prepare the coilovers in the most efficient way possible to minimize the lead time. The more a specific application is signed up, the earlier that specific model will be available, so please remember to sign up in the link below.
Applicable Chassis
- E30 – 5 Lug Swap
- E30 Application
- E36 Application
- E46 M3 Application
- E36/7 Z3 Application
- E36 318ti Application
- E36 M3 Application
- E34 Application
- E39 Application
- E85 Z4 Application
- E90 Application
- E90/E92 M3 Application
- E90xi Application
- E81/E82/E87/E88 Application
- F30 Application
- F22/F23 Application
- F87 M2 Application
Order Disclaimer:
- These coilovers are custom built to spec. Please expect 4-5 Weeks of lead time. We estimate shipping date will be end of July.
- All pre-orders are custom built to spec, so please verify models/specs before ordering. Our returns policy may change specifically for these kits to match FEAL’s policy. Thank you for your understanding
About Garagistic
We are BMW, Datsun, Mercedes, and just, in general, car enthusiasts. Growing up, everyone on the Garagistic team has worked on their own project cars and tracked, drifted, or otherwise engaged in hoon activity. We took our love for everything Motorsport and started Garagistic.
We make everything here in the USA. From our multiple CNCs working around the clock to our in-house welder, we take pride in what we do and what we can deliver. We now develop the best BMW E30, E36, E46, E28, E21, E39, 190e performance parts and much more.
Our BMW parts range from aluminum, delrin, and poly subframe bushings to E30 X-braces and strut bars. We pride ourselves on having the most affordable BMW performance parts with the best quality on the market.
Stay updated with us on Instagram, YouTube & our website!
Feal Suspension has been in the business of servicing and tuning dampers since 2007. Our focus has been maintaining and improving damper performance, not just sales of coilover kits.
When you purchase Feal brand coilovers, you will receive dampers built with years of tuning experience and testing. Our tuning methods span not only shock dyno analysis, but also testing using professional drivers and collecting valuable feedback.
We have tested Feal product on autox, road race, rally, and professional drifting applications for many years. We are active in professional motorsports and constantly put our suspension to the test.
Stay updated with FEAL Suspension on Instagram & website!


.jpg)


